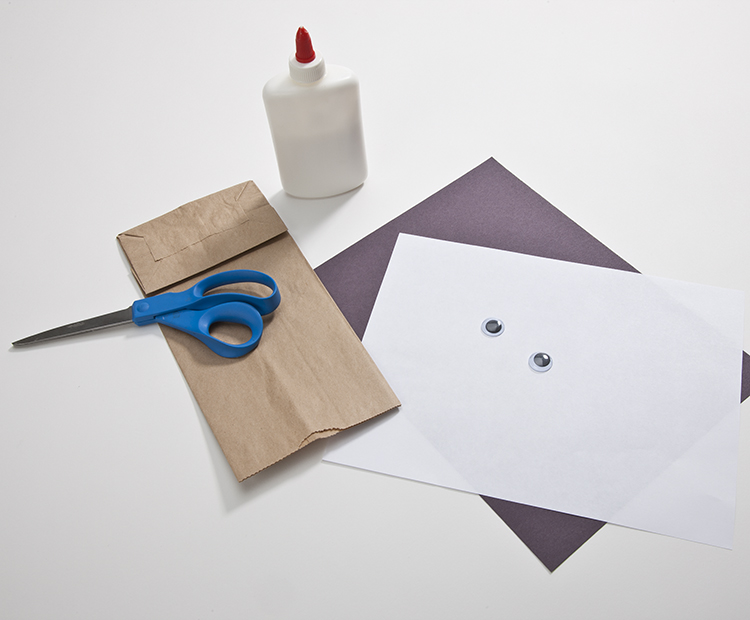
What you need
- Paper lunch bag
- White paper
- Black construction paper
- 2 googly eyes (15mm)
- Glue
- Scissors
- Pencil
- Black marker
1.
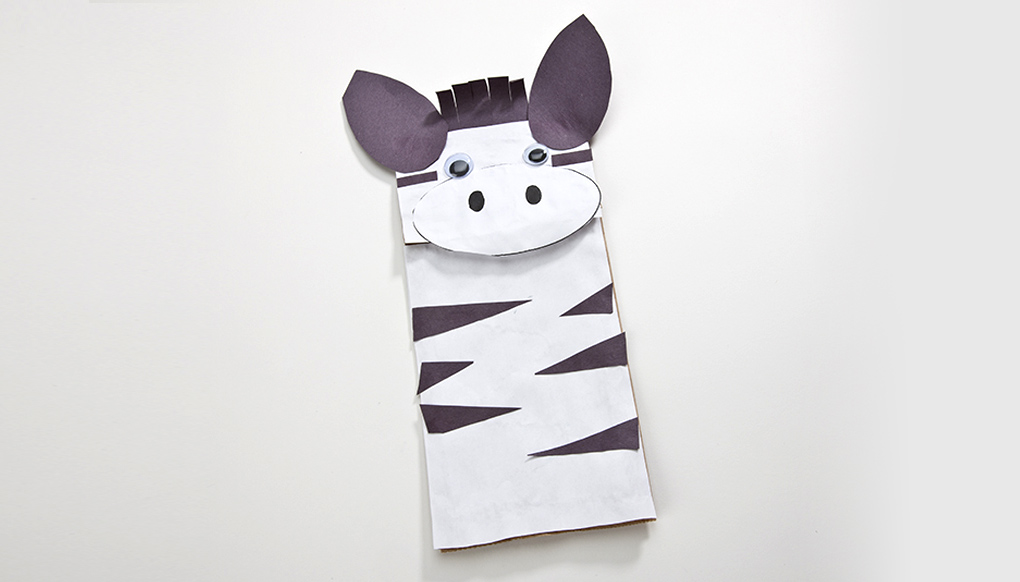
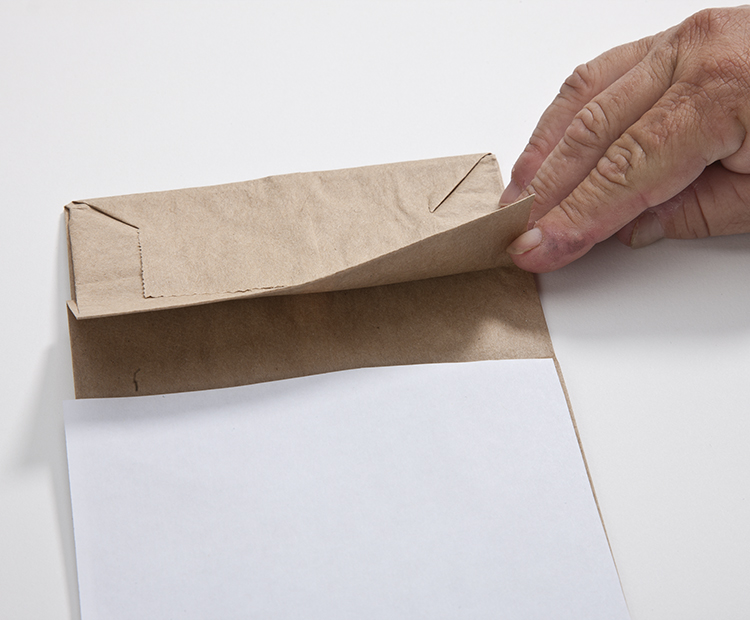
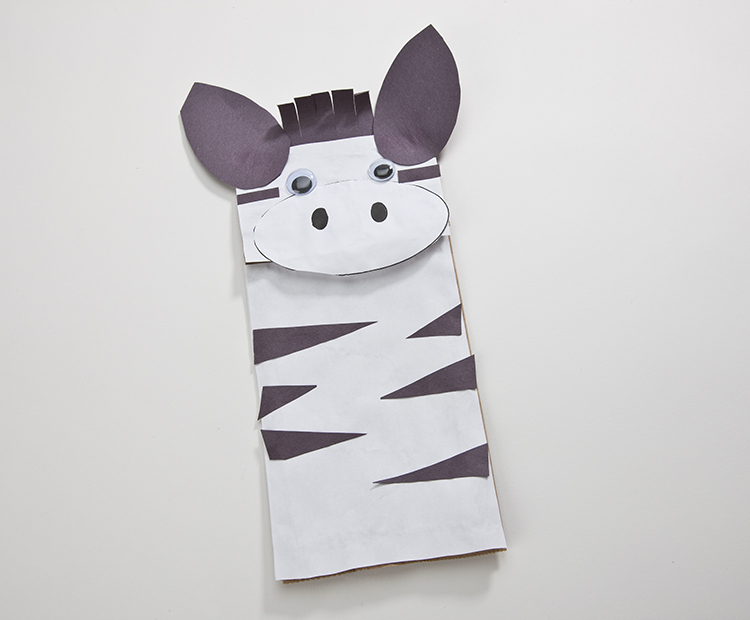
Place the paper bag on a flat surface in front of you, so that the opening of the bag is pointing toward you and the flap (that would be the bottom if you opened it) is at the top. The flap will be the zebra’s head and face. Trim some white paper to fit the “body” of the puppet. Glue the paper to the puppet’s body, being careful to fasten it UNDER the flap. Trim another piece of white paper to cover the puppet’s face and glue it in place.

2.
Cut a large oval out of white paper; it should be as long as the bag is wide. This will be the zebra’s muzzle. Glue the muzzle onto the puppet’s face and use the black marker to draw and color two nostrils on it.
Draw two ear shapes on the black paper and cut them out. Glue them to the top of the puppet’s head, one on each side. Cut a square of black paper to fit between the puppet’s ears. Cut slits in the paper to form strips and roll them around a pencil to make them curl slightly. Glue the non-curled edge to the back of the puppet, so that the curled strips stick up between the ears.
3.
Glue the eyes on the puppet’s face, above the muzzle. Cut some slender triangles out of the black paper. They do not all have to be the same size; make some short and others long. Glue the black pieces to the puppet’s body, as seen in the picture. Remember that a zebra’s stripes don’t extend all the way to its belly, so you will be leaving some white space on the puppet’s body.
Set your puppet aside to dry.